8 Street Photography Tips for Beginners
I wish I could go back and give myself some advice when I first started my street photography journey several years ago. It would have saved me a great deal of time and money, and helped me progress my photography much faster.
Unfortunately time travel isn’t possible, and most of us don’t have access to a photographic mentor when we are starting out - someone who could have shared their hard learned experiences with us. Instead we typically have to make all the mistakes ourselves and figure out our own path.
Therefore by collecting all the lessons I would share with my former self into this blog, hopefully I can help someone learn from my mistakes and help them on their photographic journey. Here is what I have learned from many hours spent, miles walked, places visited, events attended, workshops participated in, and mistakes made.
1. Camera gear won’t make you a better photographer
It’s incredibly easy to get seduced by the marketing that comes with each new camera or lens release. Hoping that with more megapixels, a faster burst rate, or a lower aperture, I will be able to make better photographs. I’m guilty of falling into that trap all too often. The truth is, no amount of new gear will make you a better street or documentary photographer.
What will help is knowing your current camera inside out - setting it up so it is as simple to use as possible, and you can adjust your aperture, shutter speed, and ISO on instinct without looking. The same goes for the focal length. Pick one prime or zoom lens you feel comfortable with and commit to only that lens for a prolonged period of time. I have found that by just committing to using one prime lens every time I go out to shoot (in my case a 28mm), it helps you to see a composition on the street before you even bring your camera to your eye.
Instead of spending your money on the latest gear, use it to enhance your skills through i) attending workshops (although be careful to chose carefully (!) - see my blog post on this topic), ii) travelling to new places, ii) attending events, or iv) studying photography books (more on that below). You will get far more value for money, and progress your photography faster, from any of these than you will do from the latest camera or lens.
2. Photography books should be your greatest source of inspiration
Instagram as a platform has helped me to connect with other photographers and grow a small presence online, but it shouldn’t be used as the primary source of inspiration. Trends move fast - for example who remembers all the ‘street’ photographers that blew up during the early 2020’s taking long lens shots and heavily colour grading their images. Before you realise it, if you just follow what is happening on Instagram, you’re making images that are a pastiche of everyone else’s. Have a look at you Instagram feed and I wager that a lot of the images you see are heavily inspired by one of Alex Webb, Saul Leiter, Ray Metzker, or Trent Parke.
Instead I wish I had fallen into the rabbit hole of photography books earlier, as this is where I have found the greatest source of inspiration. The work of the great photographers from Magnum and beyond has stood the test of time for a reason. These photographers weren’t chasing likes on social media; they were using their camera to tell stories, often over years or decades.
Sitting with a book, turning the pages slowly, noticing the sequencing, details, rhythm, and restraint, has taught me more than endless scrolling on Instagram ever could. If you are looking to buy new and used photography books I would throughly recommend both Setanta Books and Wolf Books. I’ll share some of my favourite books to begin your own library with in a future blog post.
3. You don’t need to live in, or regularly visit, a major city
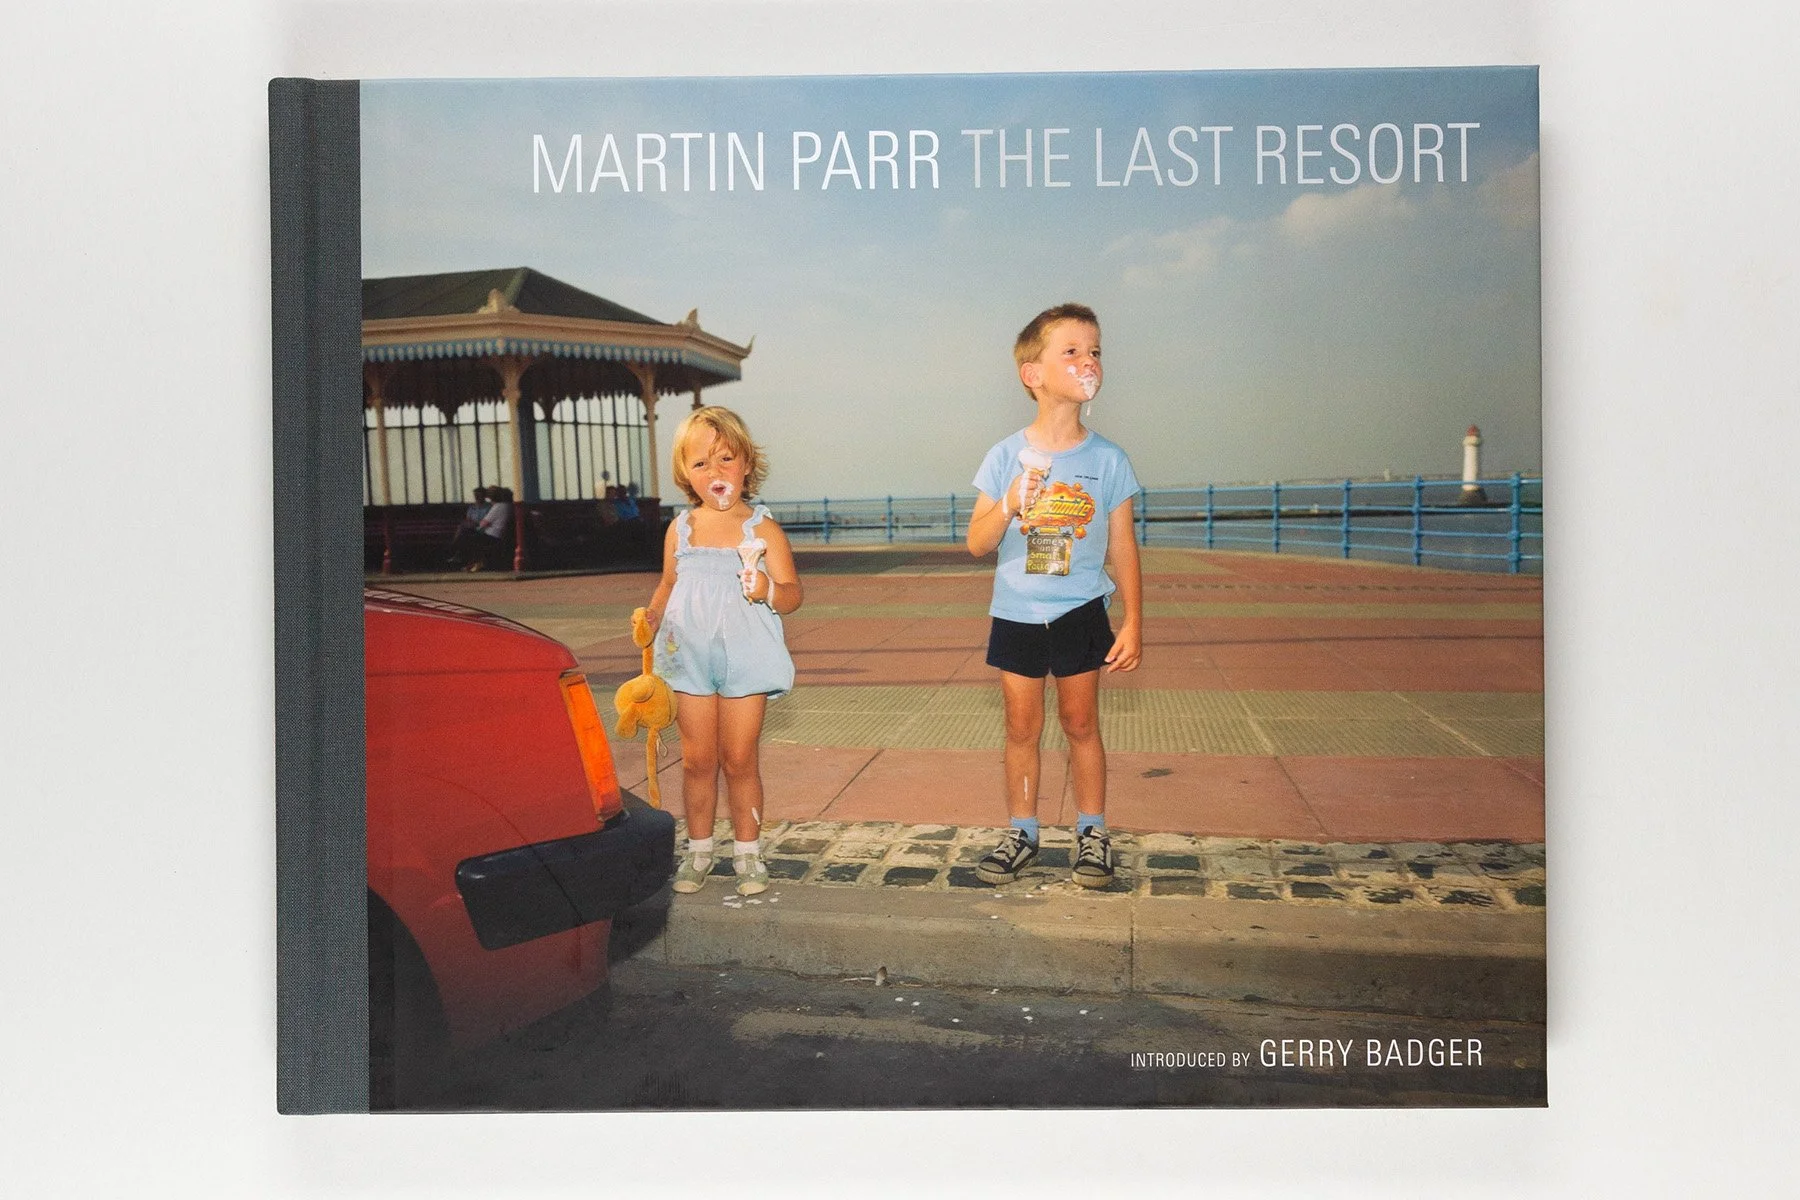
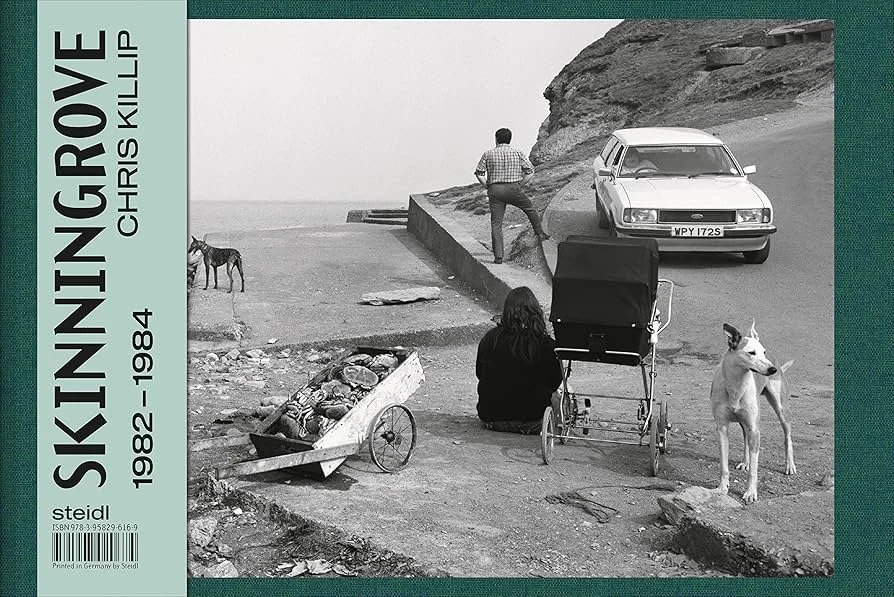
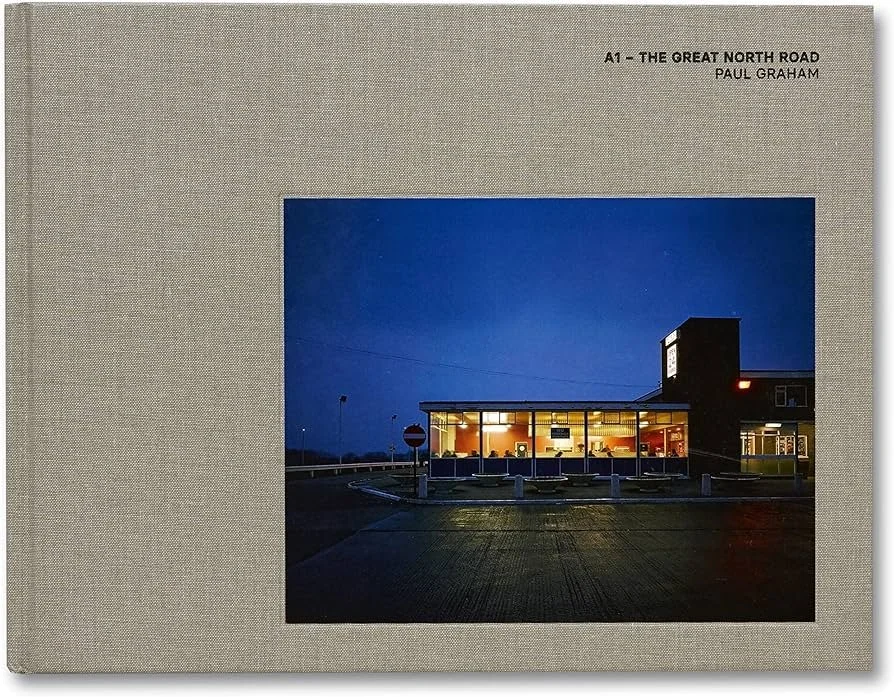
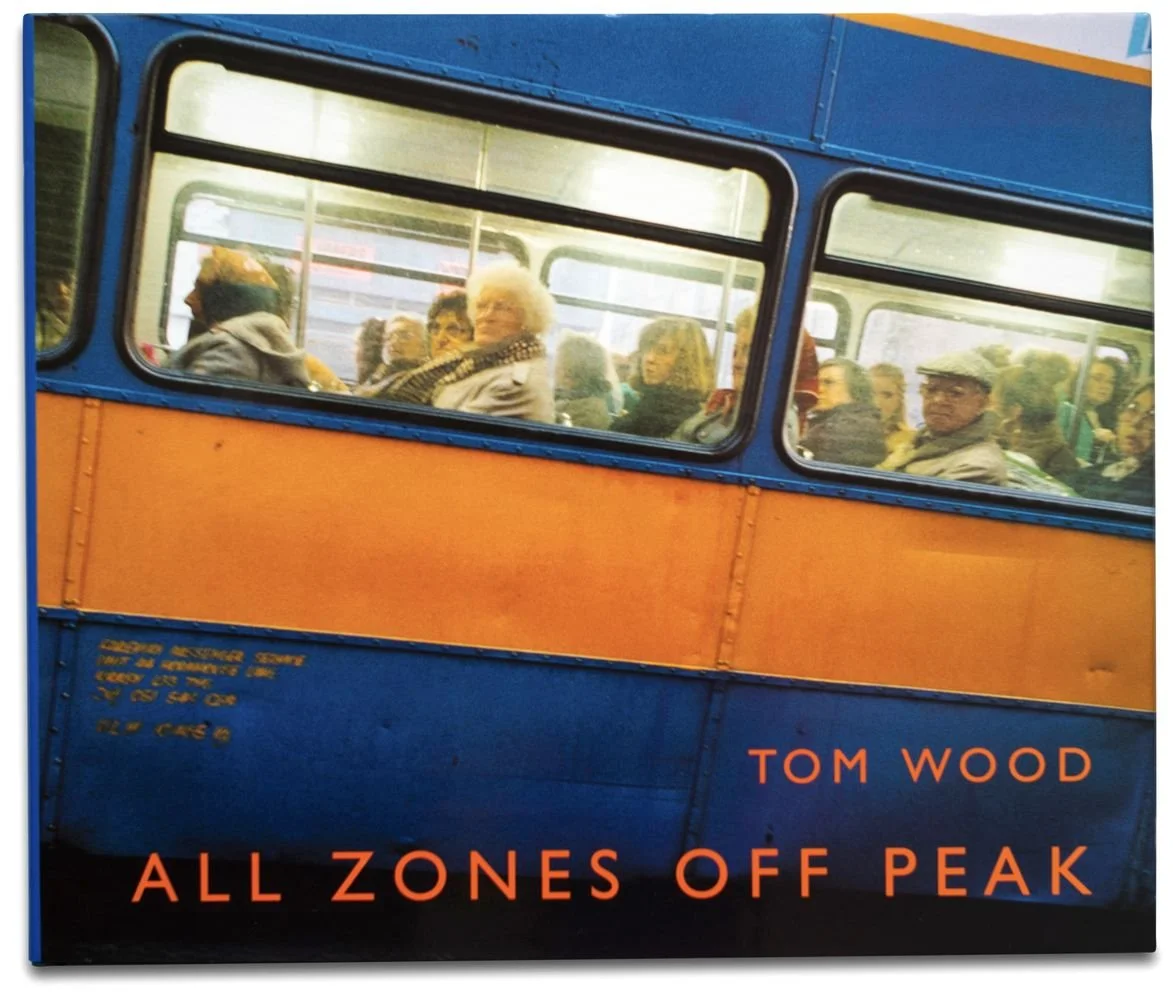
There is a common misperception amongst those of us starting out that you can only create great photographs and build an audience for your work if you are in a major city. I think this is because many of the current photographers with large Instagram or YouTube followings, live or regularly travel t0 places like London, Paris, New York, Istanbul, or Tokyo. However, that is very much not the case and there are numerous examples of great photographers both past and present who have lived in small towns, or focused their work on projects in remote places and small towns. Some notable UK examples include Martin Parr’s book The Last Resort in New Brighton, Chris Killip’s book Skinningrove, Paul Graham’s books on the A1 - Great North Road or Beyond Caring at Social Security Offices, Tom Wood’s book All Zones Off Peak that was all taken on one bus route in Liverpool over many years, Jamie Hawkesworth’s book on Preston Bus Station etc. etc.
I live in Cheltenham, a town of around 100,000 people, and somewhere that seems on face value a fairly boring place. However, my series that won the street category of the Hasselblad Masters was mostly photographed in Cheltenham, often within a ten-minute walk from my house. Additionally an extract from my long-term project on Cheltenham Racecourse has just been published in The Raw Society magazine. There are stories worth documenting and photographing everywhere, you just need to look again with a fresh pair of eyes. Remember what may feel mundane to you could be fascinating to someone from somewhere else in the world - it took me several years to realise this.
4. Focus on long-term projects rather than one-off images
Single images can be powerful, and may even get your work noticed, but projects are where your real growth as a photographer happens. I spent a lot of wasted time worrying about making photographs to post on Instagram each week, to maintain engagement, get the most likes, and grow my audience. However, this pushed me into a cycle of going out shooting regularly with no other purpose than to try and get the next ‘banger’.
Long-term projects, such as the ones mentioned above in the books from Marin Parr, Chris Killip, and others, give your work depth and direction. They force you to return, to reflect, and to refine. Over time, themes emerge and your voice and the story you want to tell becomes clearer.
Projects also open doors for you far more than a single image will. A strong body of work can become a zine, a book, or even an exhibition. More importantly, it gives your photography meaning beyond instant validation. Don’t worry too much about what can be a project, it can be any subject matter - a thing, an event, a place, a period of time etc - in the excellent book Reclaim the Street by Stephen McLaren and Matt Stuart they even feature a project on Elbows! The best thing to do is just get started, and give yourself some focus when leaving the front door.
5. Be open with what you are doing and maintain positive body language
One of the biggest lessons I have learned, is it is far better to be fully open with what you are doing on the street taking pictures rather than trying to hide it in some way. Everyone knows what you are doing when you try and hide it, for example how often do you see members of the public carrying a camera around rather than a phone to take pictures these days, you stand out just from having a camera, and it just creates suspicion regarding your motives are if you are trying to hide it. Photography isn’t about cameras; it’s about people. Positive body language makes a huge difference to how close you can get, how natural your images feel, and how favourably people react to what you are doing.
The best examples I have seen of this come from Eduardo Ortiz and Jonathan Jasberg - who run excellent photography workshops. Both of them are very open with what they are doing, will smile, engage and chat with people, and often will start by interacting with people before even taking any pictures. This technique is great as it puts everyone at ease, and your subjects get back to what they are doing and ignore your presence - allowing you to be embedded in the scene without bruising it. That’s when the real moments happen.
6. Learn how to zone focus and don’t worry about sharp images
Learning how to zone focus with wide-angle manual prime lenses (28mm and 35mm), trusting what the result would be, and not fixating on sharp images with critical focus, was a real turning point for me in my photography. This genuinely freed me up to allow me to solely focus on composition, what to include or leave out of the frame, and capturing moments, rather than fiddling with settings or worrying about what my auto focus may choose to lock onto or not.
Since reaching this turning point, I have not once looked back and wished I was using a lens with auto focus. Autofocus is extremely sophisticated in modern cameras, however it doesn’t know how you want the scene to look or your subject of choice. As such it may lock onto the wrong subject at the worst possible moment. Zone focusing removes that uncertainty. Once you’ve set your distance and aperture, the camera becomes an extension of you and simplifies your process. All the images you see on my website were taken using this method.

Cheltenham Racecourse
Shot on a 28mm manual prime lens at F11 and 1/500 second using zone focusing.
7. Study photography theory
Studying photography theory shouldn’t be disregarded. You should consider it an aid to improving how you see the world, and identifying more potential scenes that would work as a photograph. As an example, colour theory helps you recognise how complementary pairs like red and green, or blue and orange, can create instant contrast and energy in a frame. I have provided an example below that was taken in the Kolkata flower market where I was specifically waiting for someone wearing orange to walk through the frame to complement the blue else where. You can learn more about the different aspects of colour theory by using free tools such as the Adobe Colour wheel. Studying Gestalt principles is also a good place to start, as that will help give structure to your colour awareness, by helping you understand how people, shapes and lines naturally group, lead the eye and create rhythm in the frame. Over time, that mix of theory and practice has helped make my work become more intentional, and stronger as a result.
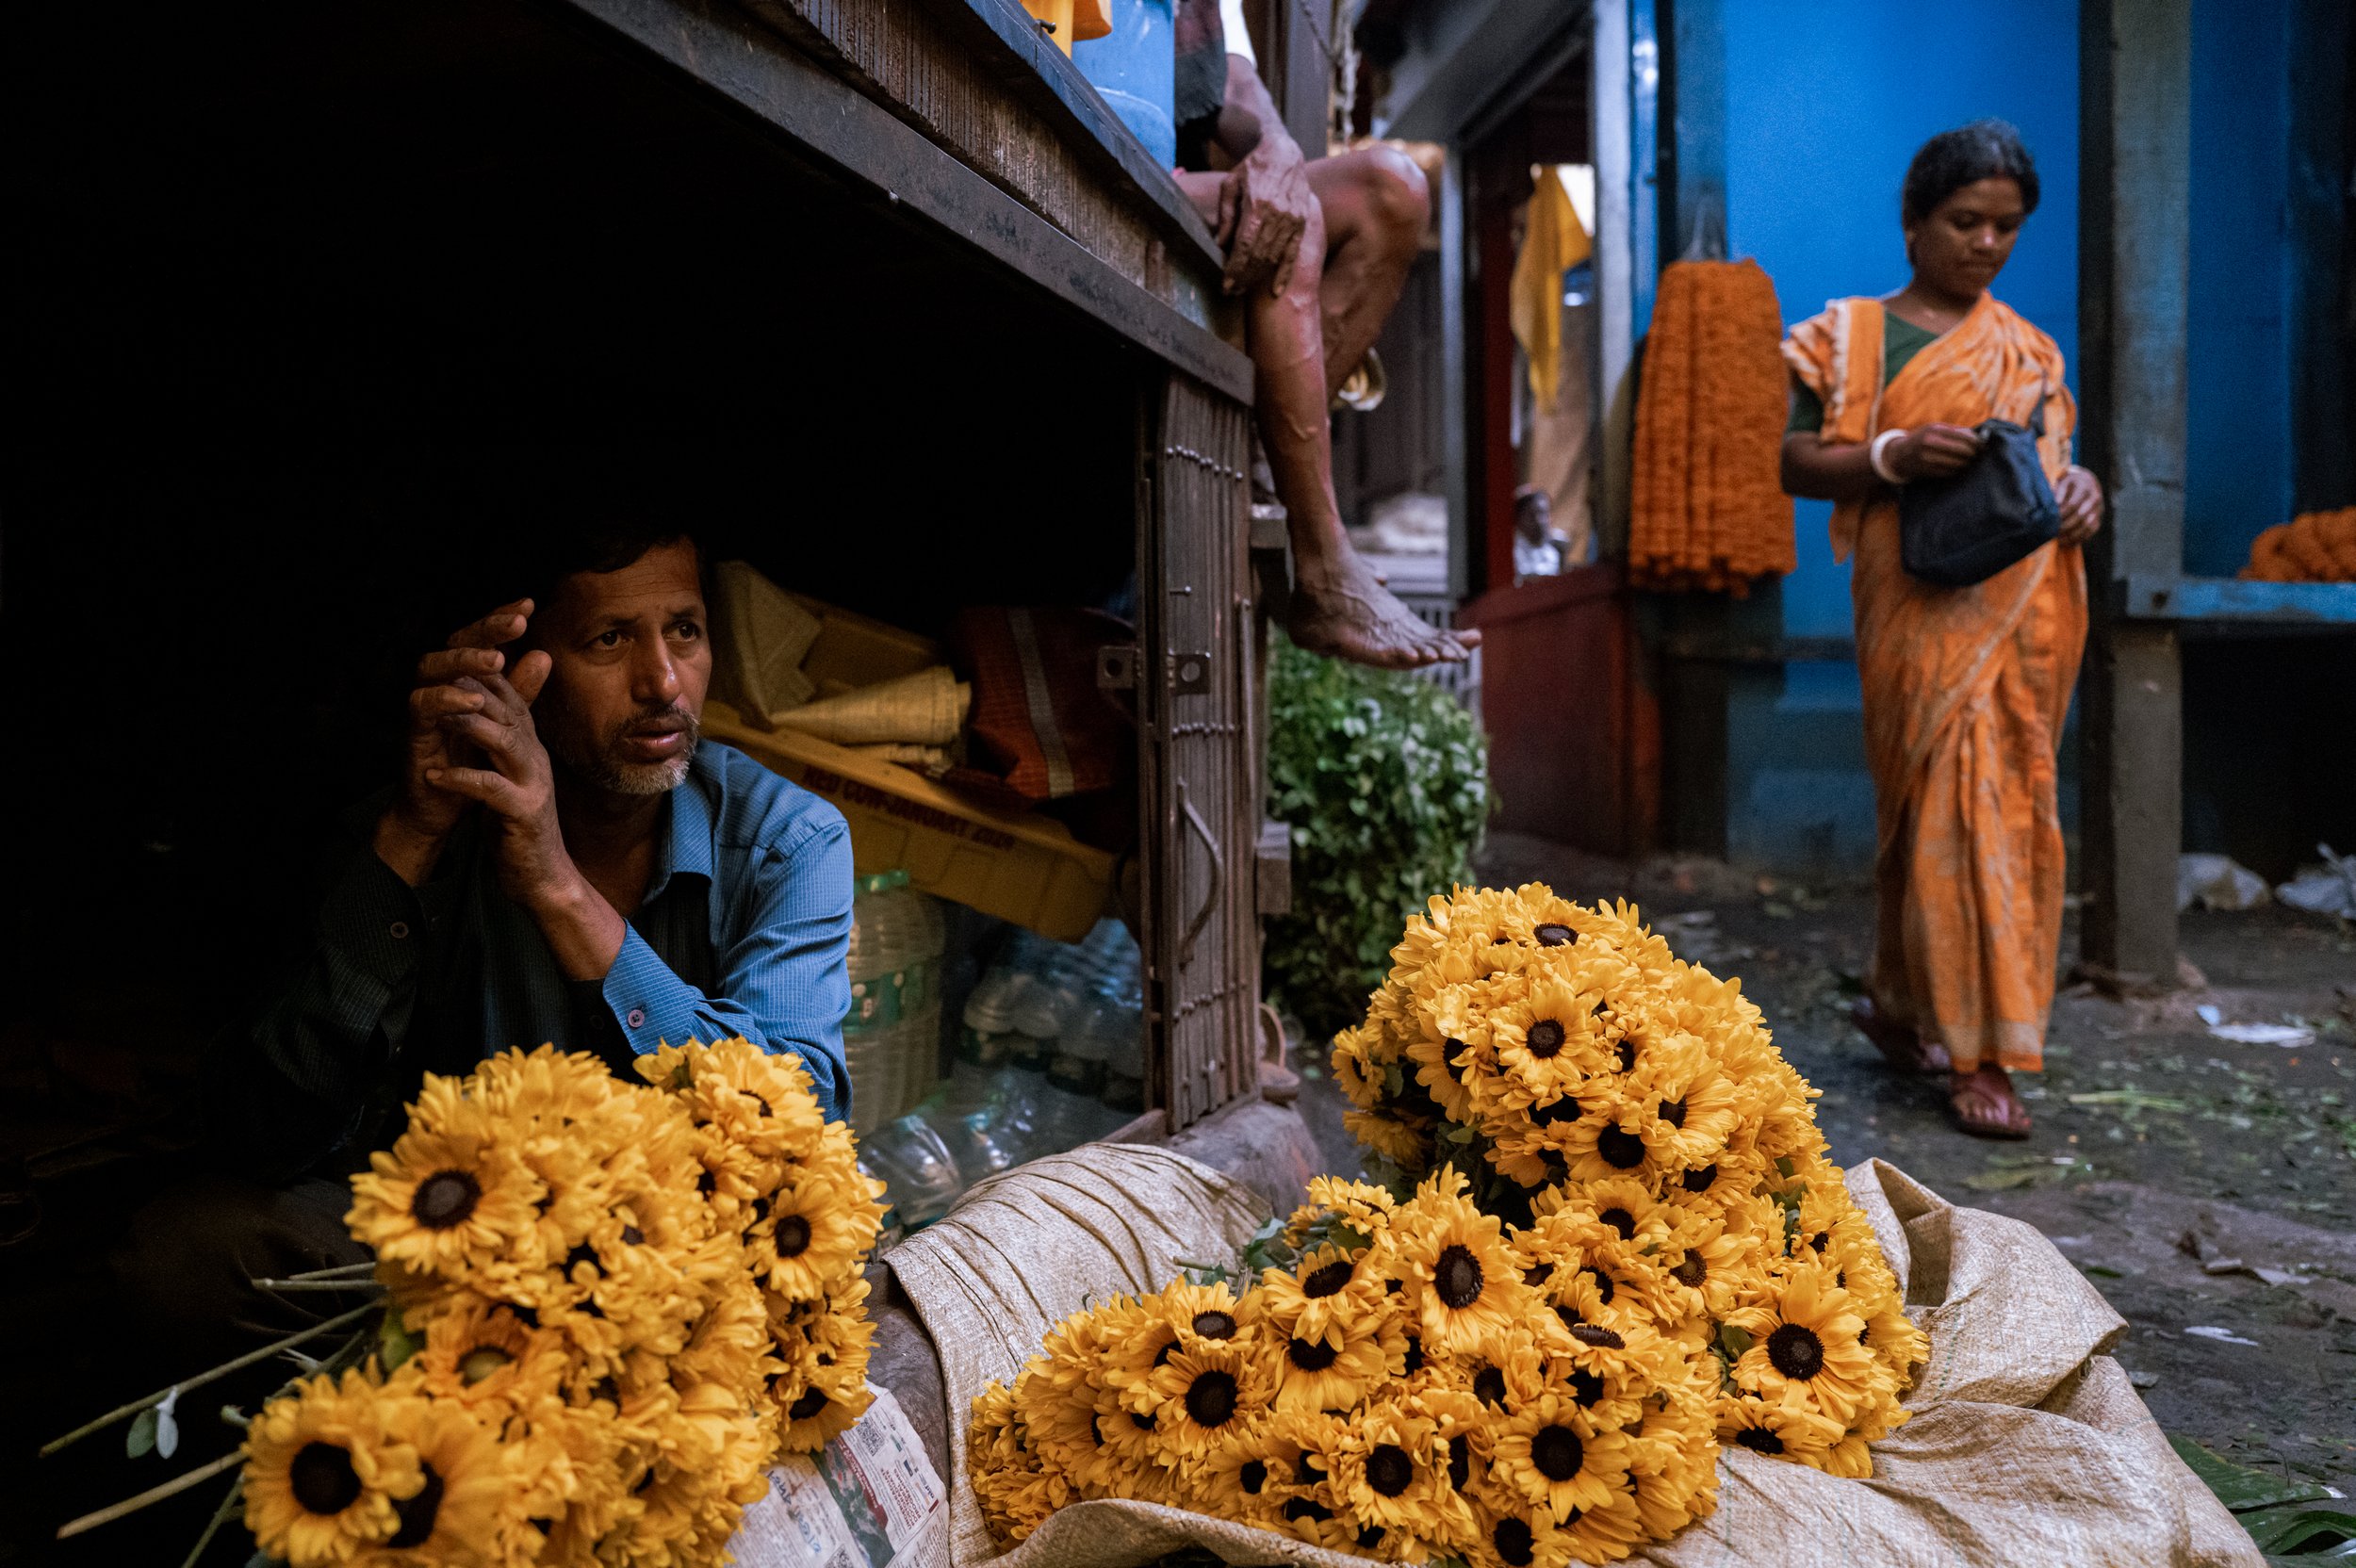
Kolkata Flower Market
Example of complementary colours of Blue and Orange.
8. Get closer than you think
This is perhaps the simplest lesson, and the hardest to follow - especially when you are first starting out and building your confidence. If you’re using a 28mm or 35mm prime lens, you need to be close to your subject(s). Really close. If you think you are close enough take another step forwards! Ideally your main subject(s) will be no more than 1 to 2 metres from you. Distance will in most cases dilute impact. Getting closer fills the frame, adds energy, and places the viewer inside the scene rather than feeling like they are observing from the sidelines. The example image above from Cheltenham Racecourse of the woman with red hair was shot on a 28mm lens and I would have been around 1.5m from her when making the photograph.
It’s uncomfortable at first, and it will take practice, but discomfort is often a sign you’re pushing in the right direction. I found that the best way to get used to doing this is attending events where people expect to be photographed e.g. Santacon, a Pride event, a Lord Mayor’s Show, the horse racing etc. This will allow you to build your confidence up over time.
In conclusion
None of these lessons are shortcuts, and they won’t deliver quick results or overnight success. But taken together, they’ve helped me develop a way of working over the years that delivers the results I am looking for, and I hope they can do that for you too.